How to Collect a Receivable from a Non-Registered Beneficiary
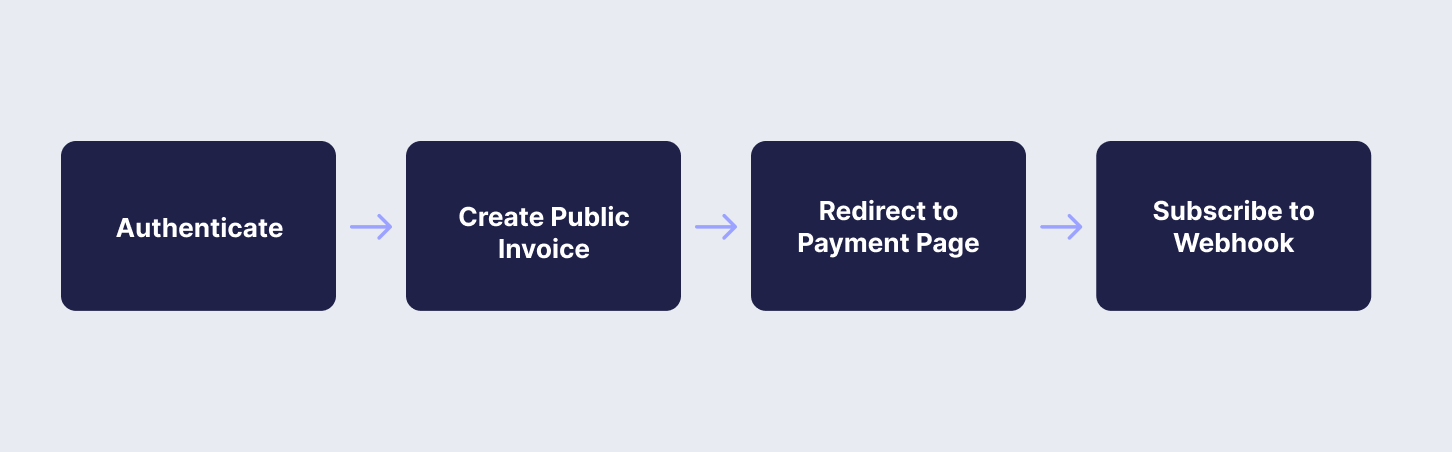
The usual workflow for collecting a receivable from a non-registered beneficiary involves the following steps:
Step 1: Authenticate: Obtain an API token by validating your credentials.
Step 2: Create Public Invoice: Generate a public invoice for the beneficiary.
Step 3: Redirect to Payment Page: Redirect the beneficiary to the payment page using the unique transaction reference number.
Step 4: Subscribe to Webhook: Set up webhooks to receive notifications about payment events.
API Endpoints Used
In this guide, you will use the following API endpoints:
Below, you will go through the necessary API calls to achieve the steps above within the i-payout system.
RecipeYou can also follow our recipe by clicking the link below:
Step 1: Authenticate
To start using i-payout solutions, you will need to authenticate with your API Token. Refer to the Get a Token guide to learn how to:
Step 2: Create Public Invoice
Use the Create Public Invoice endpoint to generate a payment item for a non-registered eWallet customer. This will provide a response with the field data containing the unique transaction reference number in the response. Below, you will find an example request for creating a public invoice:
curl --request POST \
--url https://merchantapi.testewallet.com/api/v1/payins/public-invoices \
--header 'accept: application/json' \
--header 'content-type: application/json' \
--data '
  {
    "currencyCode": "USD",
    "merchantReferenceId": "your-reference-id",
    "arrItems": [
  {
    "amount": 50.00,
    "description": "Payment for Service",
    "quantity": 1
  }
  ],
    "notificationUrl": "https://yourdomain.com/notification",
    "notificationReturnParams": "string",
    "userReturnUrl": "https://yourdomain.com/return",
    "userReturnUrlParameters": "string",
    "userCancelUrl": "https://yourdomain.com/cancel",
    "userCancelUrlParameters": "string",
    "notificationEmail": "string",
    "restrictPaymentTypeId": 0
  }
'
{
"isSuccess": true,
"message": "Success",
"statusCode": 0,
"logIdentifier": "string",
"data": "unique-transaction-ref-number"
}Step 3: Redirect to Payment Page
After receiving the unique transaction reference number in the previous step, redirect the beneficiary to the i-payout payment page. The URL for redirection varies between test and production environments.
Test URL:
https://merchant.testewallet.com/PublicCheckout/Checkout.aspx?PaymentGuid=unique-transaction-ref-numberProduction URL:
https://merchant.globalewallet.com/PublicCheckout/Checkout.aspx?PaymentGuid=unique-transaction-ref-numberYou should substitute unique-transaction-ref-number in the address by the string you received in the data field in the response from Step 2.
Step 4: Subscribe to Webhook
To receive real-time notifications about various payment events, you need to set up webhooks. Use the Create Webhook endpoint to create a webhook subscription to the event PAYMENT.STATUS.UPDATED. For more detailed instructions, see the How to Setup Webhooks guide. Below, you will find an example request to create a webhook:
curl --request POST \
     --url "https://merchantapi.testewallet.com/api/v1/webhooks" \
     --header 'Authorization: Bearer <YOUR_API_TOKEN>' \
     --header 'X-MerchantId: <YOUR_MERCHANT_ID>' \
     --header 'accept: application/json' \
     --header 'content-type: application/*+json' \
     --data '{
         "event": "PAYMENT.STATUS.UPDATED",
         "url": "https://yourwebhookurl.com/notification",
         "description": "Webhook for payment status updates"
     }'
{
"isSuccess": true,
"message": "Webhook created successfully",
"statusCode": 200,
"logIdentifier": "xyz789hij012",
"data": {
"webhookToken": "webhooktoken123",
"event": "PAYMENT.STATUS.UPDATED",
"url": "https://yourwebhookurl.com/notification",
"status": "active"
}
}
Webhook URLEnsure that your webhook URL is accessible and can handle the incoming notifications appropriately.