Payouts
To execute bulk payouts via i-payout, merchants must compile a batch file with records for each payout they aim to perform. This enables an efficient approach to handling multiple payout transactions.
Confirmation CodeBefore you can send a bulk payout, you must set up your phone for receiving notifications.
Step 1: Download Example File
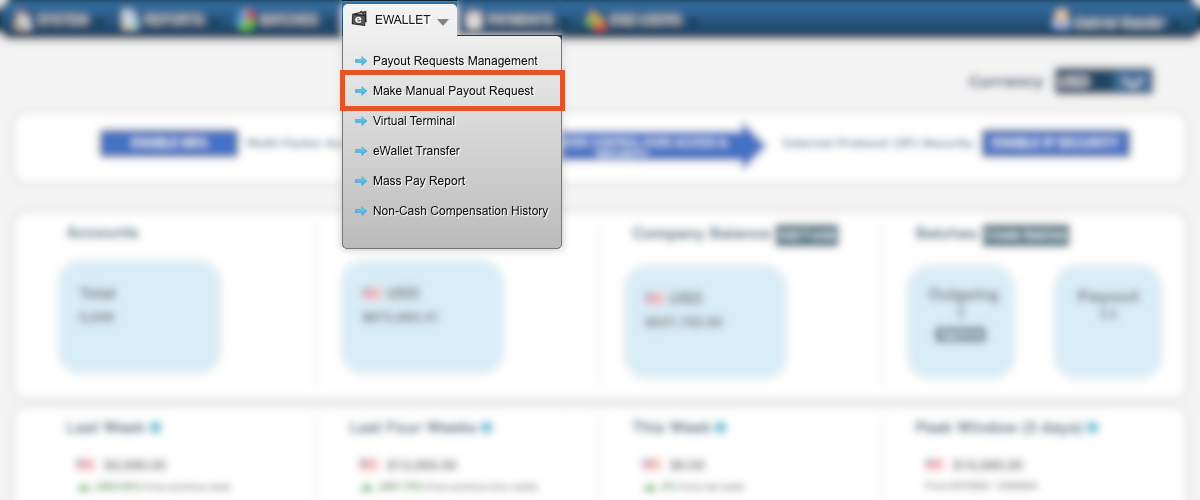
From i-payout's main page, hover over the eWallet menu and click Make Manual Payout Request.
In the Manual Payout Request screen, you can find example files in CSV and Excel format. To download the file in your preferred format, click the links on the admin portal or click the links here for CSV or Excel.
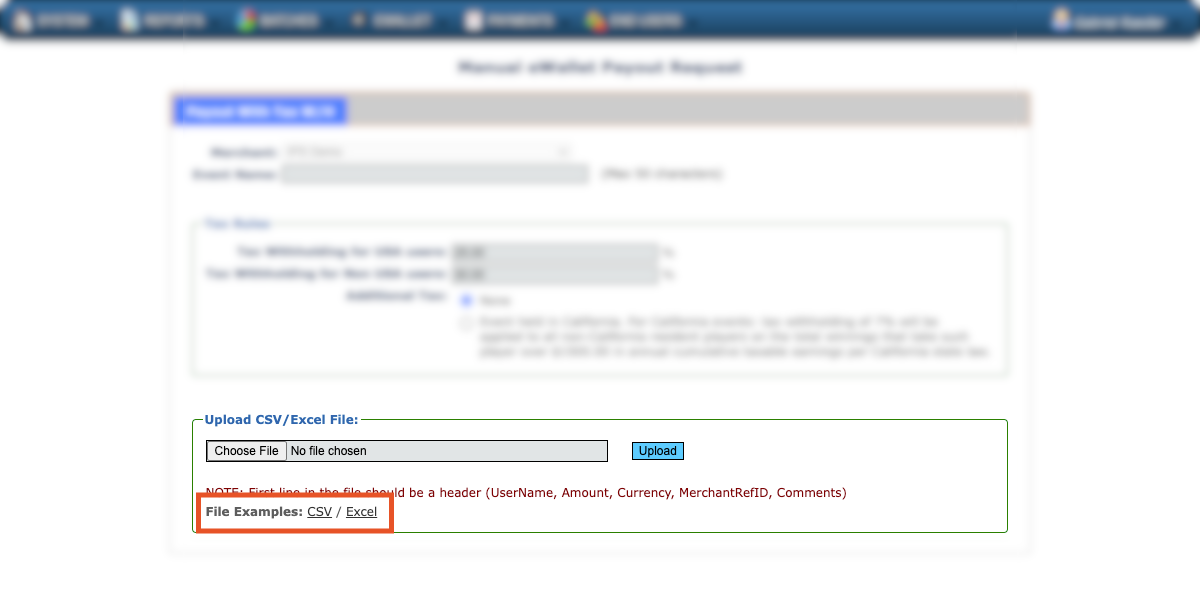
The supported file formats for bulk payout are:
- CSV (Comma-Separated Values)
- XLSX (Microsoft Excel Open XML Spreadsheet)
Step 2: Fill in the Information
For i-payout to process your bulk payouts, the files must be filled in a specific way.
Batch File Structure
The files submitted must adhere to a specific structure to ensure proper processing:
- Header Row: The first row must contain field names as specified in the documentation.
- Data Rows: Following the header, each row represents a customer record to be registered.
Record Format
The format for payout submission is detailed below.
| Field Name | Description | Data Type | Required |
|---|---|---|---|
| UserName | Unique username for the payout recipient | String | Yes |
| Amount | The total amount to be paid out | Integer | Yes |
| Currency | Currency code for the payout (e.g., USD, EUR) | String | Yes |
| MerchantRefID | A unique reference ID provided by the merchant | String | No |
| Comments | Optional comments or notes about the payout | String | No |
Step 3: Submit File
After filling the file with the information about the payouts you wish to make, you must upload it through the i-payout system.
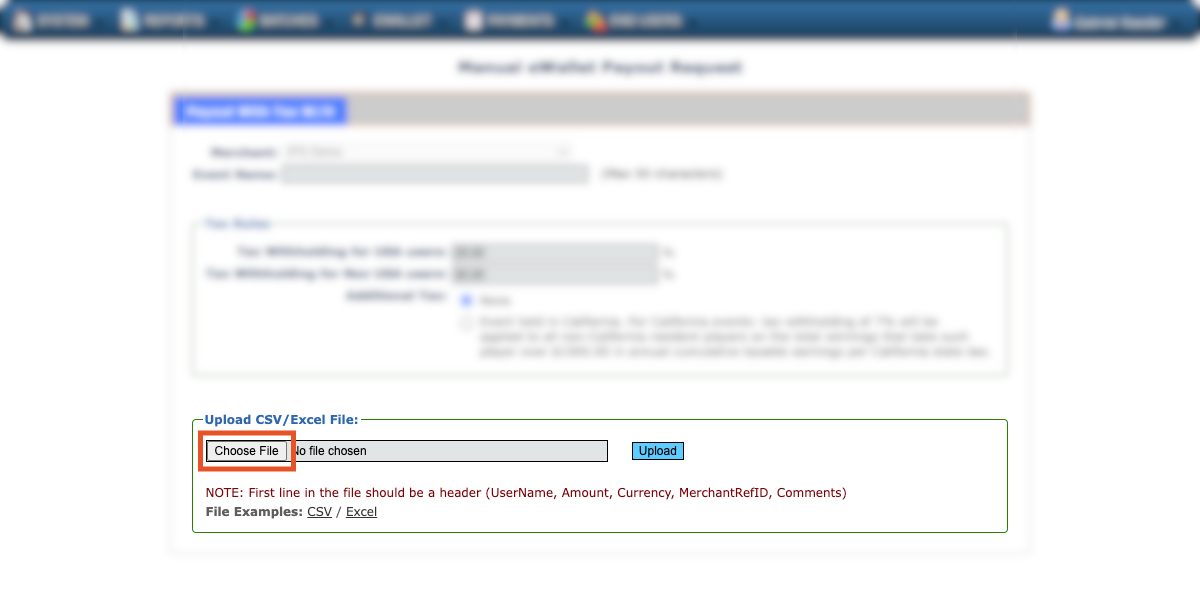
- Hover your mouse over the eWallet menu and select Make Manual Payout Request. Click the Choose File button and choose the file you wish to submit.
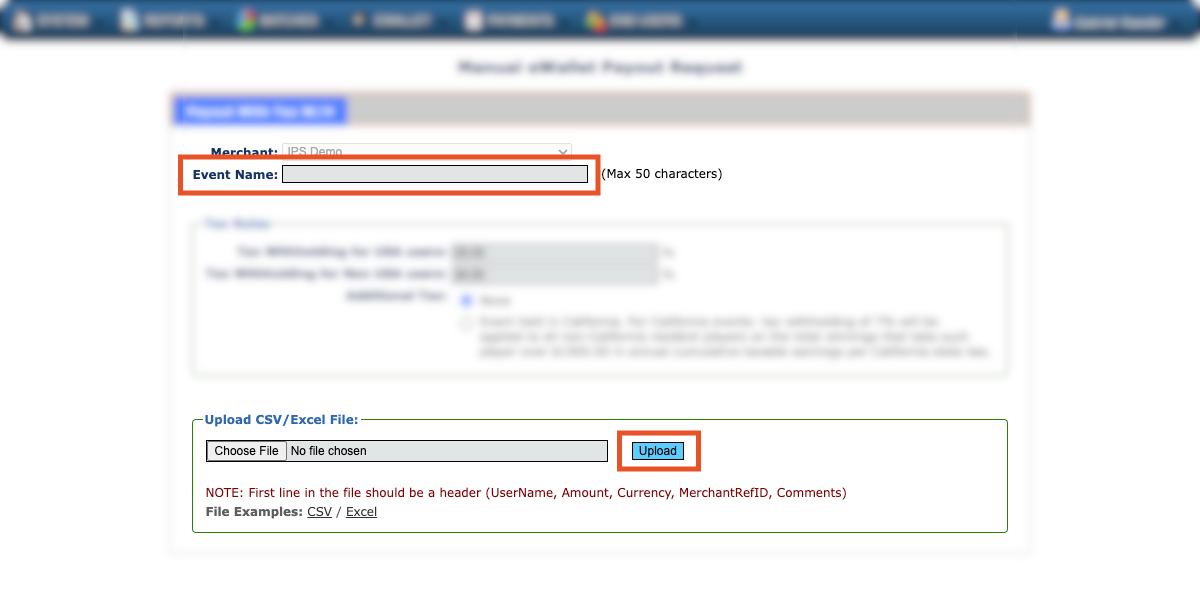
- Now, type in a name for the Event and then click Upload.
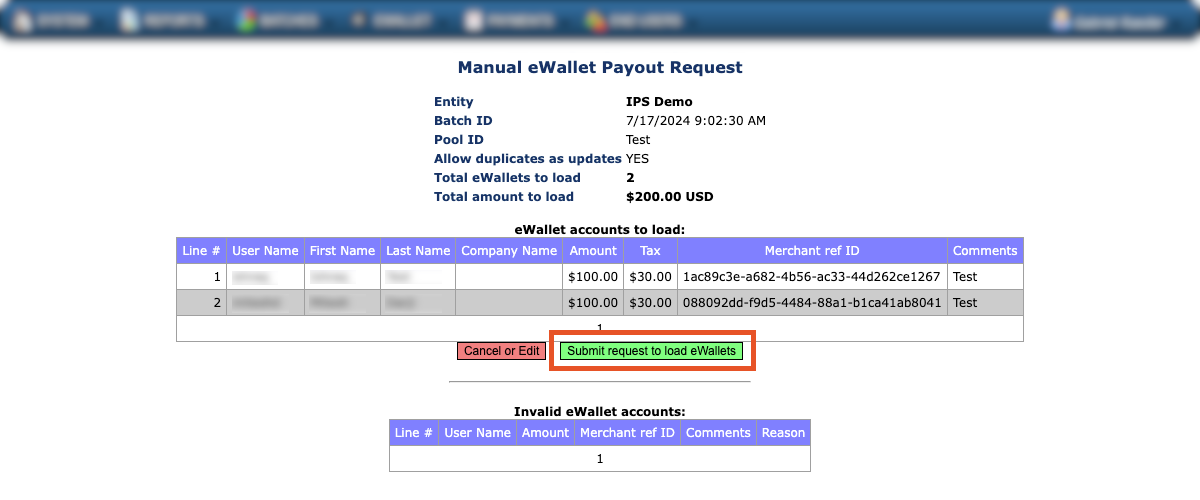
- Check that the eWallet accounts are correct and that there is no payment in the Invalid table, and click Submit request to load eWallets.
- If you haven't done so yet, you will be prompted to register your phone to confirm the bulk payout.
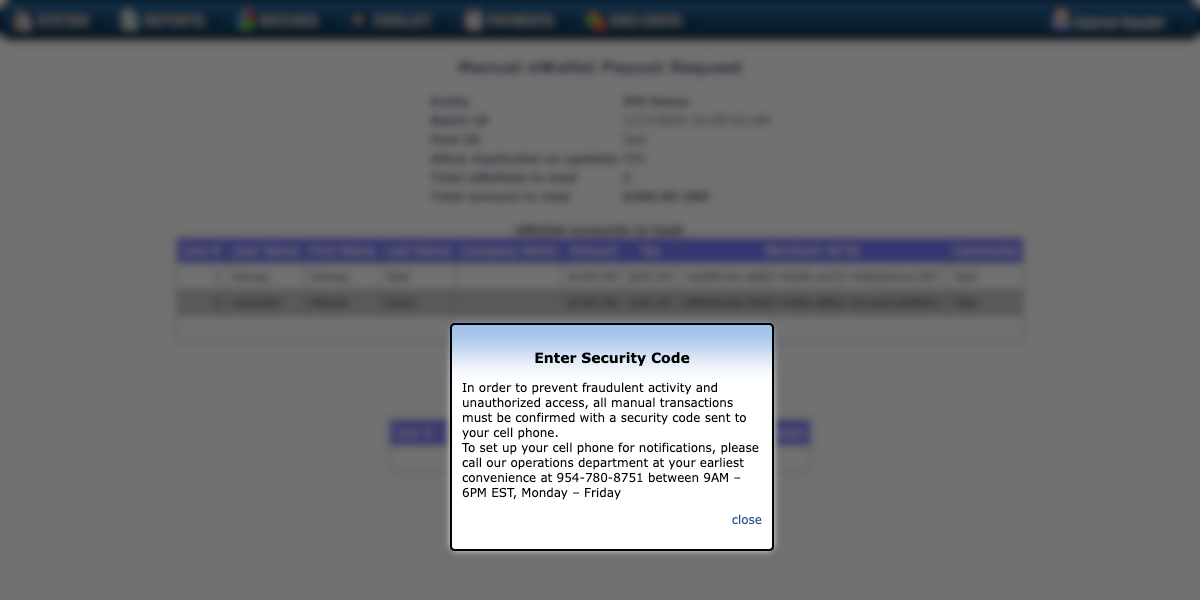
- Once your phone is registered, you will receive a security code via SMS. Insert the code in the field that will appear.
Step 4: Confirm Payout Request
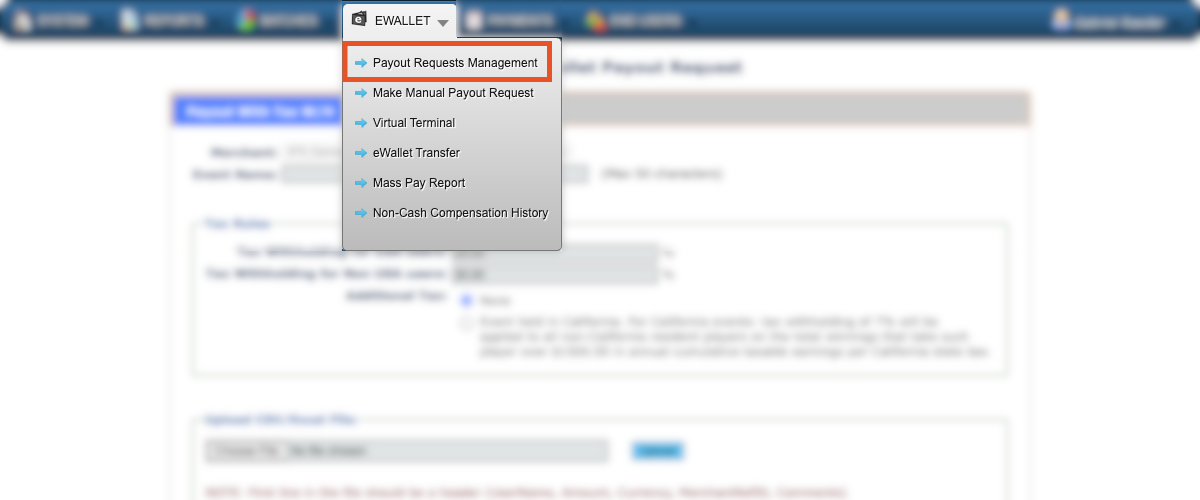
After you confirm the bulk payout upload, hover the mouse over eWallet again and select Payout Request Management.
In this section, you will see all payout requests. You can Approve All or Approve them individually.
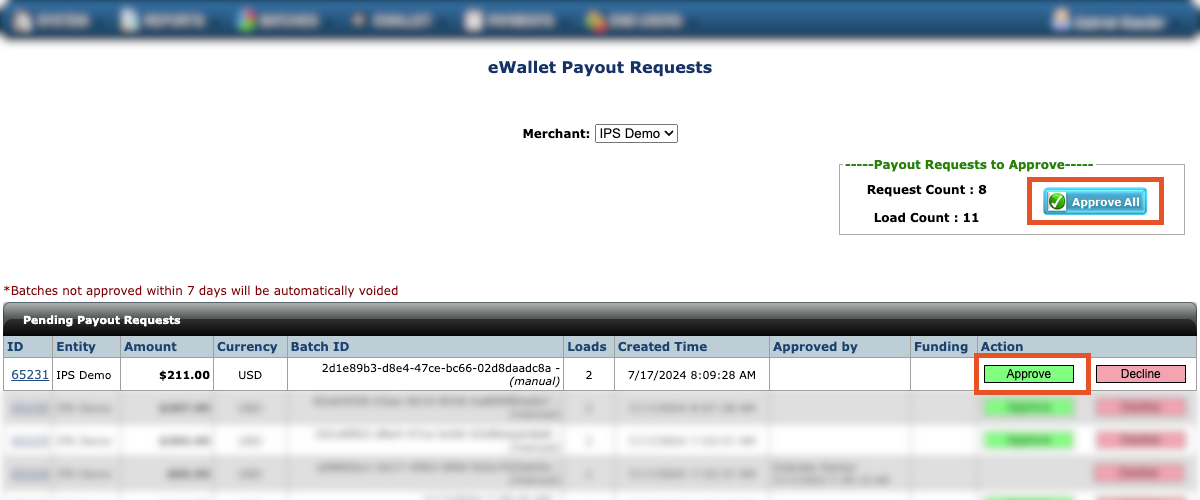
Batches Not ApprovedIf you do not approve a batch within 7 days, it will be automatically declined.
Updated 4 months ago